
All permissions within SharePortals are controlled within the SharePoint Online backend interface. When clicking the button within our interface to manage user permissions, a new tab opens which can be closed once all changes are completed.
During SharePortals installation, when we create the SharePoint site there are 4 new groups created:
| Group Name | Description |
| SP Administrators | Users can make changes to all SharePoint configuration, as well as access to the SharePortals application settings screen |
| SP Licensed Users | All standard users added to the system are added to this group by default. This group has read / write access to all entities and records by default |
| SP Managers | Same as licensed users, however if restrictions are added to licensed users it will not apply to managers e.g limiting access to one or more entities or records |
| SP Team Members | Users within this group can consume information within a SharePortals interface but cannot generate new content |
The first time you add a user to the system, you will need to select one of these groups with the default being SP Licensed Users. Any changes to users and groups must be then be done in the SharePoint new tab.
Add a New Group
If you want some users to only have access to a subset of application data, you will need to create new groups. To do this click New, then New Group. You will have a new form with the following fields:
1. Name and About Me Description: Name of your group and optional description.
2. Owner: Can add / remove members as well as delete the group itself. Specify a user by email address and SharePoint will attempt to find the Microsoft Office 365 user.
3. Group Settings: Decide who can see this Group when loading the User Permissions page. Typically left at their defaults.
4. Membership Requests: Decide whether users can request to leave or join. Typically left at their defaults.
5. Give Group Permission to this Site: Sets the permission level users have to the SharePoint site, and therefore the SharePortals instance by default.
Once all selections are made, click Create. This will take you to a screen to manage which users are part of this group. SharePoint will show you the list of users and add the owner specified to this group. To go back to the main list of groups at any time, close this tab and click User Permissions from the SharePortals interface.
Modify Group Members
Whether you have just created a new group, or clicked a group from the main User Permissions screen, youll see further options when within the context of a specific group. The main action is to add or remove members. To add a user click New > Invite People, and begin typing the email addresses of Microsoft Office 365 users. To add those users, click their name when SharePoint finds the user, then optionally start typing the next user.
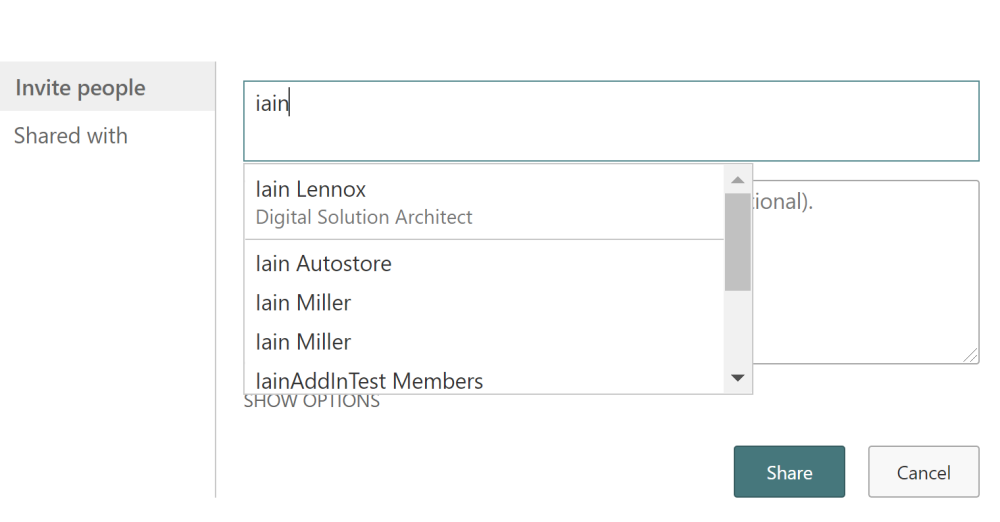
Before clicking Share, click SHOW OPTIONS and untick Send an email invitation, otherwise the users will get a link to the SharePoint site itself which may cause confusion.
Last Modified: 2021/09/16
Post your comment on this topic.