
1. Change Opportunities Record Type name to Deals
2. Change the Opportunity Title Field to Deal Name
2. Change the Field Deal Value to Est Revenue
3. Remove the Field Probability %
4. Add a new choice Field Product Category
This is a current example Opportunity Entity Record with the default configuration, created by clicking Opportunities in the top main navigation, and clicking New Opportunity to create a record with sample values:

Steps
1. Open Application Settings:

2. Click the Record Management button

3. Find Opportunity in the list of Records, and click it’s name to expand options for this Record Type.
4. Change Field from Opportunity to Deal:

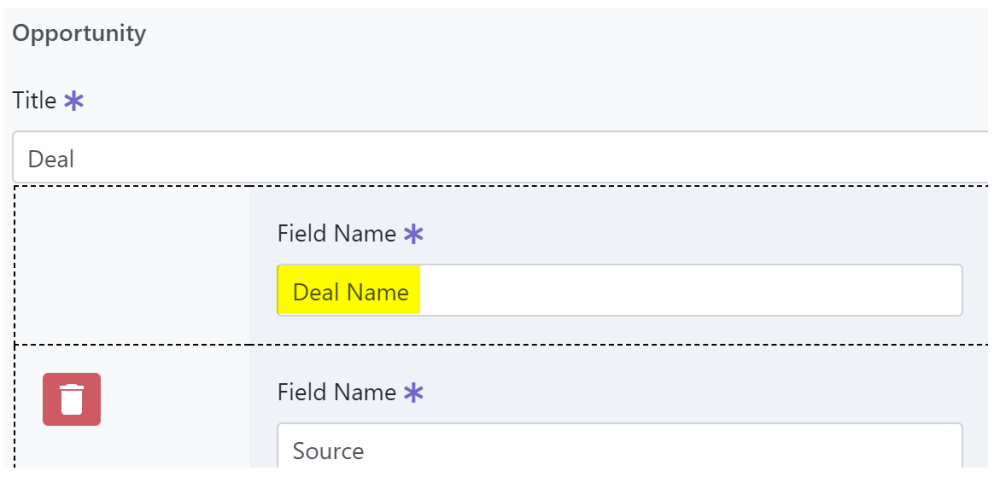
5. Change Opportunity Title to Deal Name:
6. Scroll down to Deal Value, and change the Field name to Est Revenue:
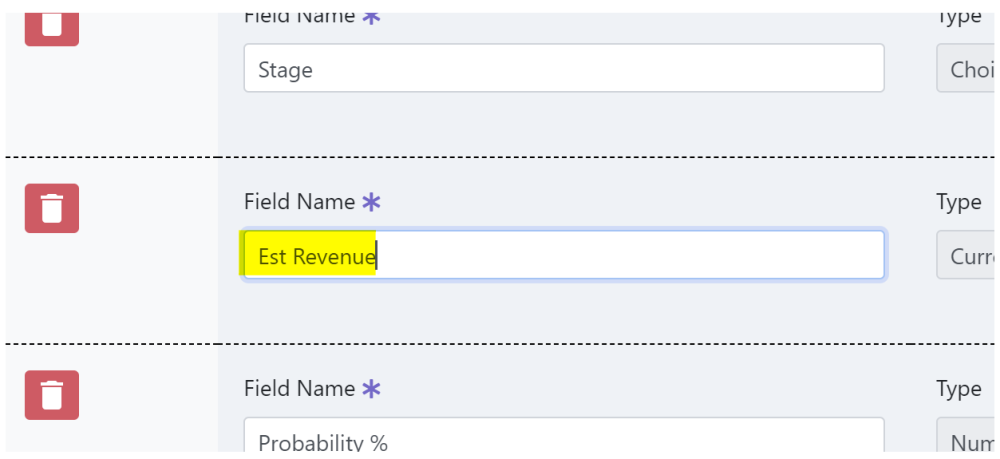
7. Remove the below Field Probability by clicking the red bucket button to the left of the Field:

8. Scroll to the bottom of the current Entity accordion, and click the button New Field

Where possible check that the record field label doesn’t already exist by selecting Add Existing Field.
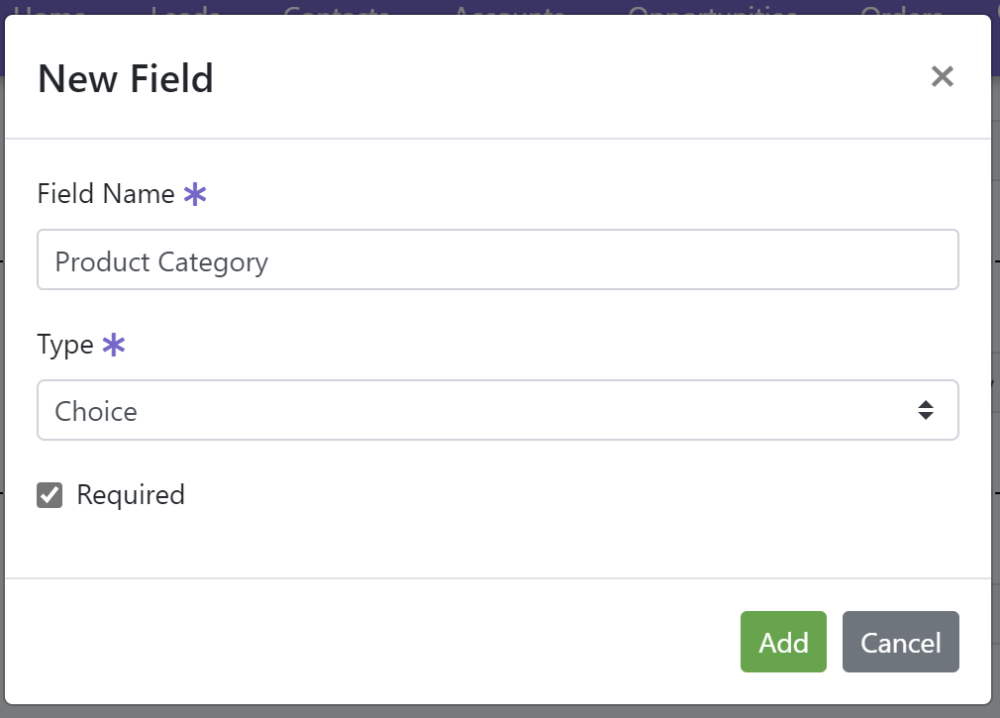
9. In the dialog, enter the values shown below to create a Field called Product Category, then click Add:
10. Click Save at the bottom of the screen to commit all changes so far. To configure the choice field we just created requires us to edit a SharePoint screen. To do this go back in to the Record Management screen again, open the Record Type which is now called Deals, and scroll to the Product Category choice Field. You should see an Advanced button:

11. This opens a new tab with a SharePoint screen. For any additional settings on Fields in SharePortals they need to be completed on this screen. For this example, scroll down to Additional Column Settings and edit the section Type each choice on a separate line: which is where we add our list of choices to the Field. Enter a few examples e.g Widgets, Stem Bolts, Q-Screw, B-Screw each on a new line as shown below:

12. Click OK in the bottom right of this screen. You will get a warning “You’re about to update all lists using this site column with the settings on this page. This will happen even if you haven’t made any changes. Are you sure you want to continue?”. Click OK on this message, and once the page has reloaded close this tab to return to SharePortals.
13. Click Save to exit back to the SharePortals app settings screen.
14. To change the order in which the fields appear in the left hand pane of the record form select Change Field Order. Make sure you have saved the previous changes first and then return to the Record settings. This operation then takes you to a SharePoint screen. Change the number next to each column and press OK to re-order the fields.

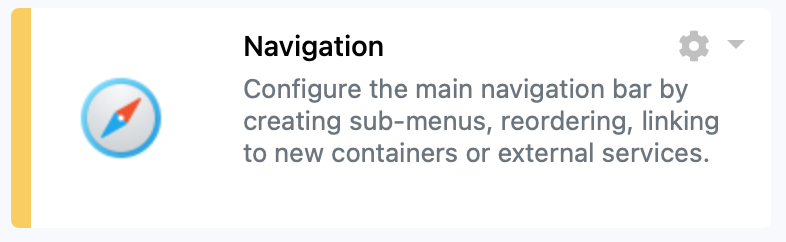
15. Click Navigation in app settings to open this screen:
16. Find Opportunities in the list of Entities, rename it to Deals as shown below, and click Save to exit the screen and apply the change:

17. Now if we open the same record at the begining of this exercise, we’ll navigate to Deals on the top navigation, click the record we opened, and verify the changes have been made to the Record Type name, Fields, and the choices are available in our new Field Product Category:

To make advanced changes including creating new entities, reusing existing Fields, adding other Field types, and more, See: Record Management
Last Modified: 2022/06/09
Post your comment on this topic.